Prepare for Device Scout Deployment
Deploying the Device Scout is straightforward, but some basic planning and preparation are important. Here, you'll find everything you need to get started, including requirements for the Device Scout, a summary of the people you may need to get involved in the process, and how to validate a successful Device Scout installation. First, if you have not already reviewed the Device Scout: System Requirements document, that's a good place to start as you plan your Device Scout deployment.
Getting Started with Device Scout
This page contains a basic outline of the Device Scout deployment objectives to help you plan your scout deployment. It also presents a recommended workflow for your Device Scout installation.
Gather Device Scout Requirements
You need to obtain or know where to obtain:
- Internet proxy information for the Device Scout
- Internet proxy credentials, if required.
- Authorization for outgoing Internet access for the Device Scout
The Device Scout requires HTTPS (port 443) access to http://devicescout.beacon.pharos.com
- You may wish to have your network administrator or network security officer review our Pharos Cloud Security white paper; it contains important security and data considerations and assurances.
Consult With Your Network Administrator
The following are common questions for your Network Administrator(s) or Network Security office.
- Is authorization needed to do SNMP-based network scanning?
- Are there specific subnets that should be excluded from SNMP scanning?
- The Pharos Cloud Security white paper outlines the network activity you can expect from the Device Scout; it will help your network administrator determine the network load the Device Scout will create.
- What network ranges should be scanned for print assets?
Note: This question is extremely important for the success of your Device Scout deployment.
- What SNMP community strings should be used?
Note: Many organizations do not specify private strings, in which case the default "public" string is used.
- Where will the Device Scout be located on your network?
- The Device Scout can be installed in a shared environment provided the minimum hardware requirements are met, as described in the Device Scout: System Requirements document.
- Choose a location that has access to all the network ranges you wish to scan. If it's not possible to find such a location, you may need to install multiple Device Scouts to ensure full coverage.
- We recommend that the location you choose be as few hops as possible to the network ranges that you wish to scan. This is because the Device Scout's primary mechanism of discovery uses the SNMP protocol, which does not guarantee delivery. This means that network congestion or other factors could prevent the Device Scout from reliably communicating with your devices from time to time.
- If the number of subnet ranges to scan will take over 24 hours, you should also consider installing multiple Device Scouts.
- The Device Scout discovery utility can be used to estimate how long a set of network ranges will take to scan.
Q: What if I want to restrict the discovery to a defined list of IPs instead of network ranges?
A: You can restrict the Device Scout discovery in this way, however, you must then maintain the list of IPs in Pharos Cloud, otherwise the results of the discovery scan will be incomplete. Additionally, new devices that are added to your network will not be seen until they are manually added to the list.
Create and Configure Your Device Scout
After you have answered the preceding questions, you will have the information you need to proceed with the configuration, downloading, and installing of your Device Scout.
Installing Your Device Scout
For information on how to install Device Scout, you can refer to the Installing the Device Scout document.
Verifying Your Device Scout Installation
After you have completed the instructions outlined in the Install the Device Scout on a Windows Server machine, you can verify the success of your installation by following these steps.
- Verify the heartbeat of the newly installed scout. Navigate to Discover > Device Scout.
- Open the Device Scout Discovery utility. You can use this utility whenever you want to discover devices in your environment. This tool uses the same SNMP scanning method that the scout uses. If your network security office has approved a specific time frame in which to perform device discovery, be sure to use this discovery tool within that time frame. The Discovery utility will load with default settings from the Device Scout's server-side configuration. For more information on what this tool does, see Device Scout Discovery Utility .
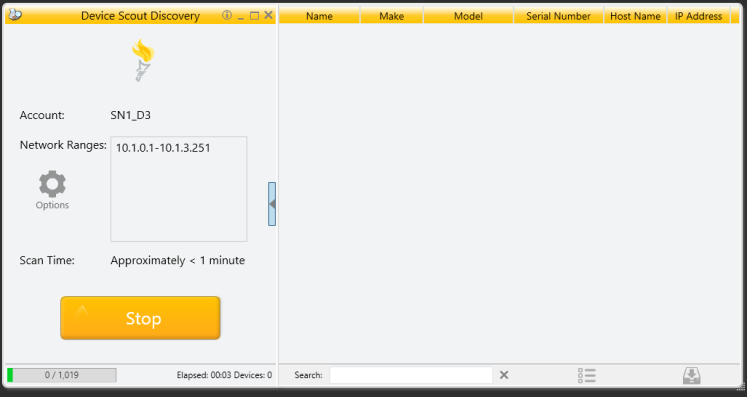
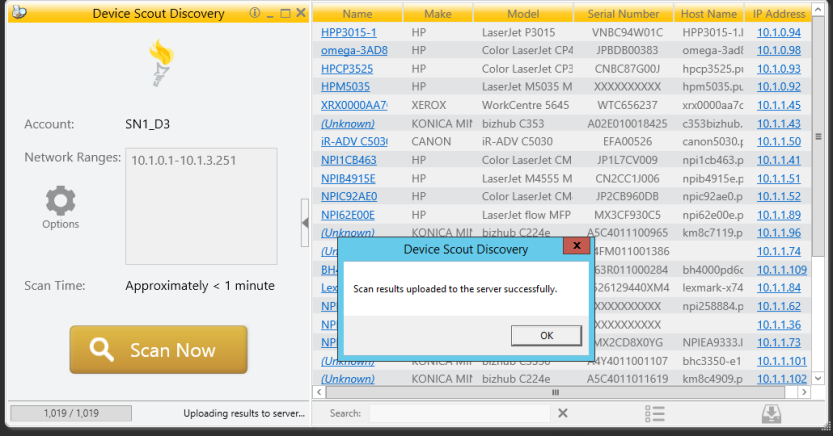
- Click Scan Now to begin scanning the configured network ranges. You should begin to see devices show up in the right pane, as shown below. When the scan completes, you can upload the results immediately. Simply click the Save to button in the lower right-hand corner, and select Upload to Server. The message shown below will appear, indicating that your scan results uploaded to the server successfully.
Note: Devices uploaded via the Utility will continue to be monitored in the Pharos Cloud database, even if they are never officially added to a scan range. See Discover Printers and Device Scout Discovery Utility for more information.
Verifying the Results of Discovery
After you have completed the preceding steps, you can go to the Fleet Manager views in Pharos Cloud to analyze your device environment. It's important to verify the following:
- Is the number of discovered devices in line with your expectations?
- Sometimes it takes 2-3 discovery sessions for the device scout to find all available devices on your network. This is typically due to temporary network interruptions, including latency issues or devices that have gone into sleep mode.
- Are the device Make/Models correct?
- Are the device serial numbers correct?